Analysts are always fighting with the dependency on developers when it comes to mobile app tracking with Adobe Analytics and their SDK. It’s tough to debug app states and app actions in comparison to web tracking calls, which we have unlimited browser plugins and tools for.
This article is about how to set up your devices to receive the full traffic including all context data.
Pre-requisites
I’m using macOS with an iPhone on the same Wifi network and the tool Charles Proxy. Charles is a free-to-download tool, which can be purchased to avoid waiting times when starting the tool.
Configuring the tool and the devices
There’re some configurations necessary to establish a working connection between Charles as a tool on your computer and your phone or tablet.
01 Set up Charles Proxy settings
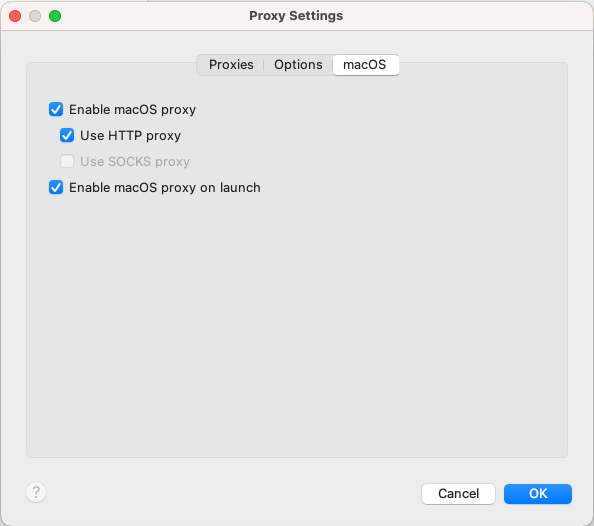
When you first open Charles, it’ll ask you to enable macOS proxy, which you should do. If you haven’t done that before, navigate to settings > proxy settings > macOS and check the box.
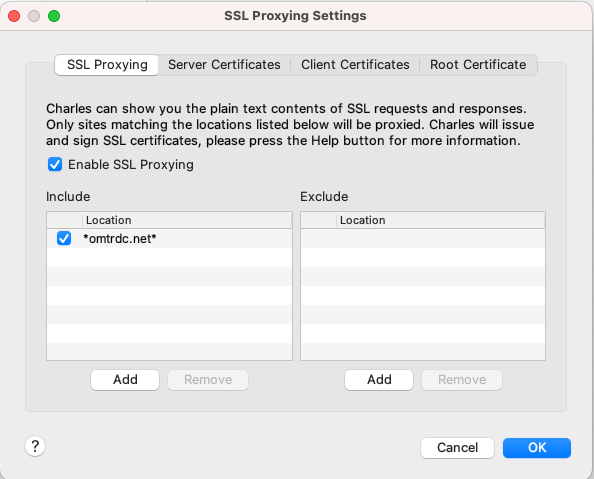
If you want to debug on other Adobe tools (like Adobe Target), you might need to change or add the locations. *omtrdc.net* would work with Adobe Target too.
02 Set up your device
In this example, I’ll use an iPhone, but there is the same logic for Android in place.
Install the certificate
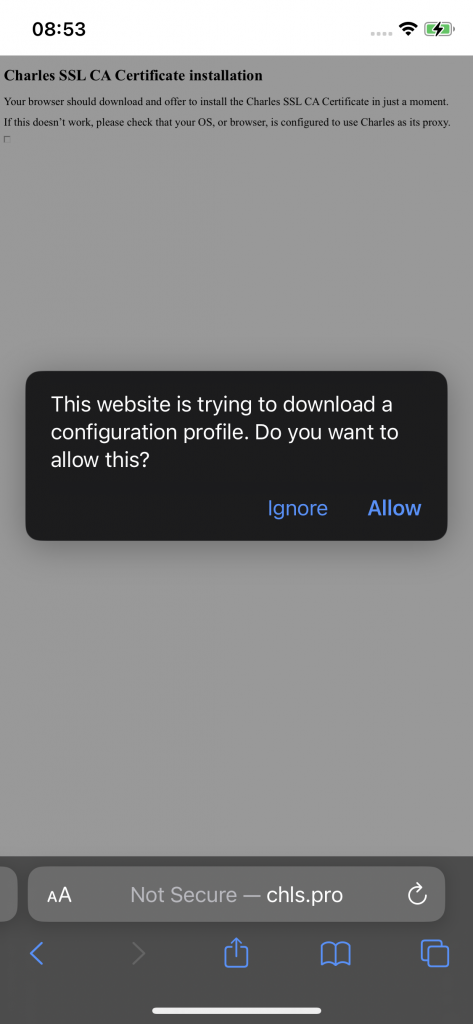
For the SSL connection, you need to install a certificate on your phone first. To do this, use Safari (as it is the native browser for an iPhone) and enter this URL https://chls.pro/ssl. This will automatically prompt a message to download a certificate to your phone.
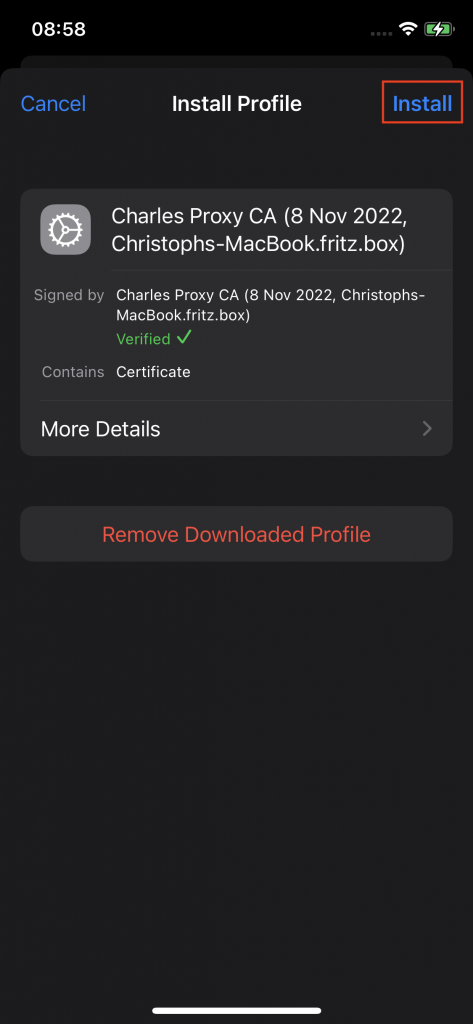
Now follow these steps:

Now, one of the most important things, that several other explanations don’t include, is to activate the certificate within the Certificate Trust Settings. You find them under settings > general > about and then scroll to the very bottom.
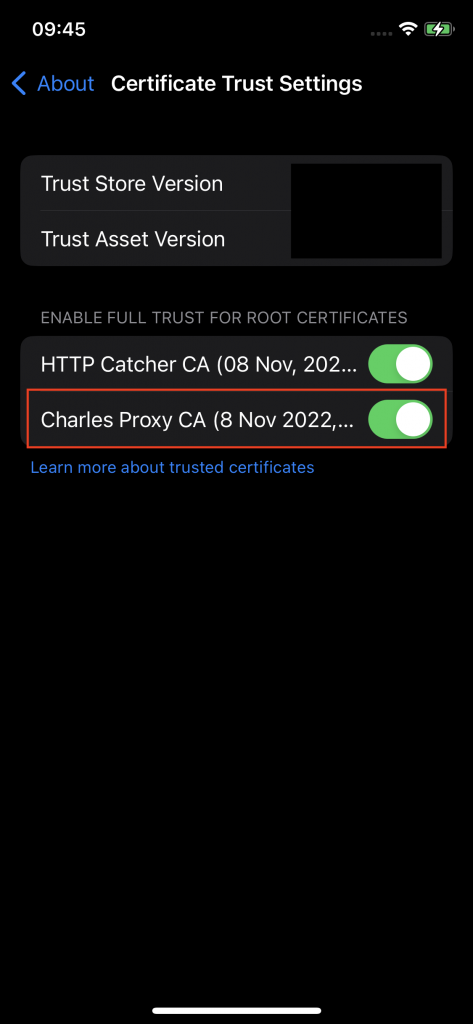
Now your device is ready in an SSL kind of way. We know need to establish a connection to your computer.
Add proxy settings
Go to settings > Wi-Fi and click on the info button next to the network you’re connected with. Remember, this has to be the same network as you’re connected with your computer. Scroll down until you see the HTTP PROXY settings, click on it and set it to manual.
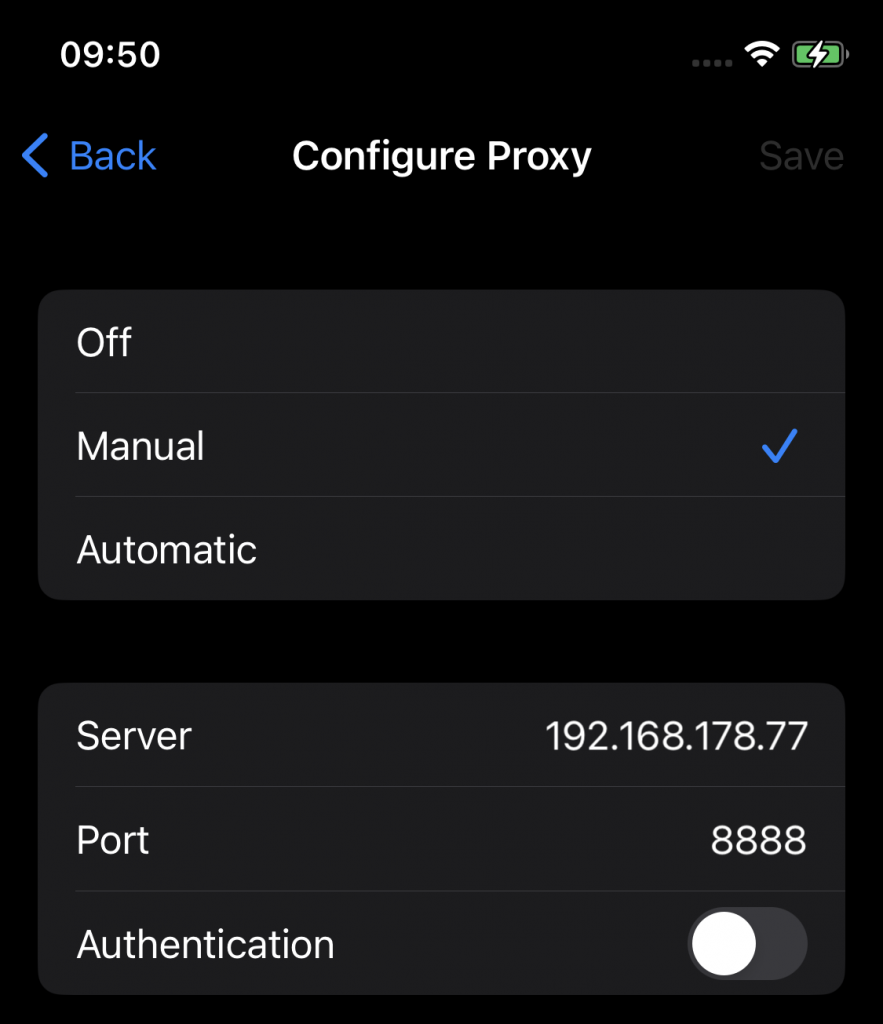
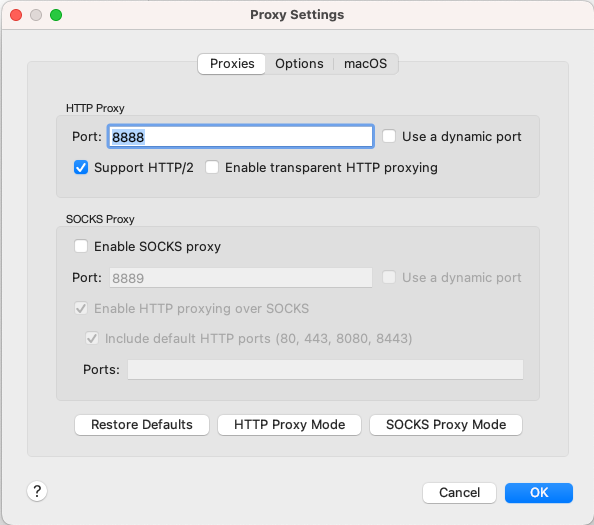
Now enter your computer’s IP address and port 8888 (we’ve set this up in Charles earlier). To get your computer’s IP address go back to Charles menu > Help > Local IP Address and you can copy it from there.
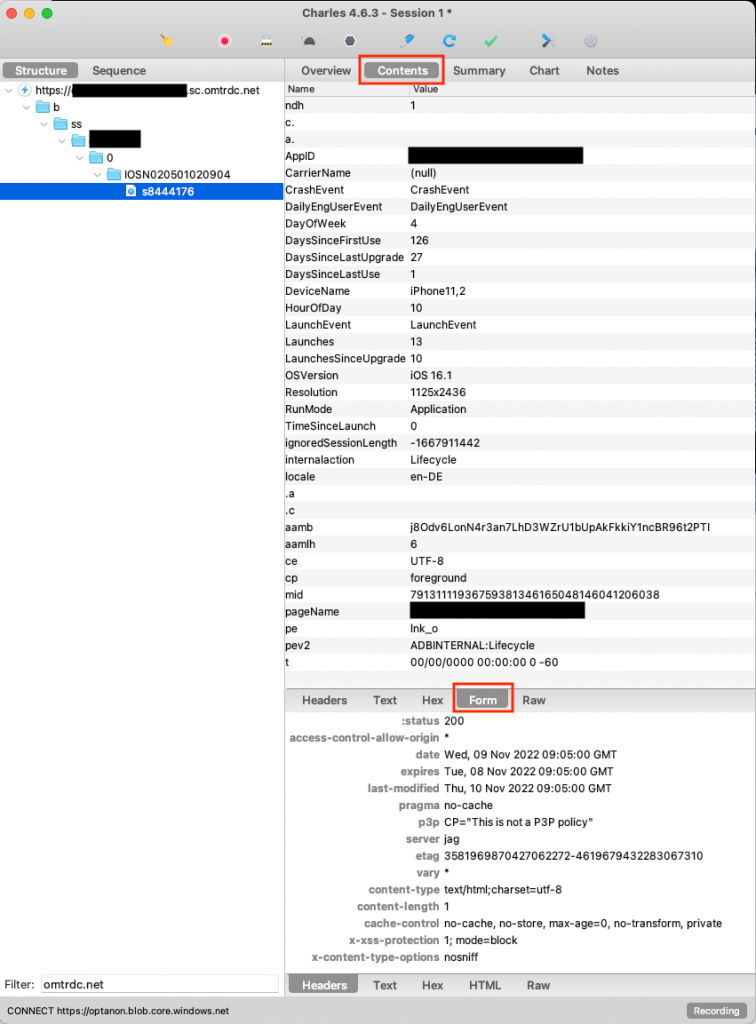
Your setup is complete! From now on, you should receive tracking calls from the web and app. Charles also offers possibilities to filter for specific traffic, you’ll find out. Don’t forget to press the record button, if it’s red you’re collecting.

HINT: To see data in the most comfortable way, you can choose the tracking call and select “Contents” and “Form” for easy to read results.